Installation
This installation shows you how to setup the Admin Portal of the Green Web Foundation.
Development on a remote machine using Github Codespaces
Why Github Codespaces
This project uses Github Codespaces to provide managed, hosted development environments on Github, using the devcontainer.json standard. This means you don’t need to install project dependencies on your local computer if you don’t want to.
You can work in a browser or use a local editor like VS Code, or Vim to connect to the managed environment.
Setting up a Github Codespace
Go to our Github repository and click on the Code button and then the Codespaces tab.
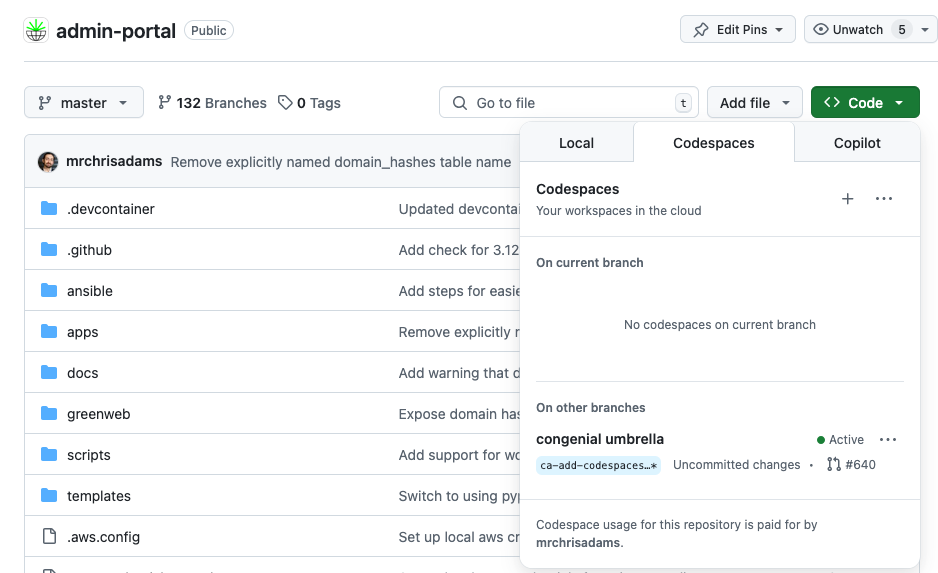
Next, either choose the + icon, to create a workspace on the default master branch with the default machine type to run code in, or the “three dots” icon to bring up the option of New with Options.

If you choose new with options you can connect to a specific branch, and with a specific machine type, and region. Setting a region will allow you to run the codespace geographically closer to you, which can make it more responsive. Using a specific machine type can increase the resources available to you for running tests or general computation.
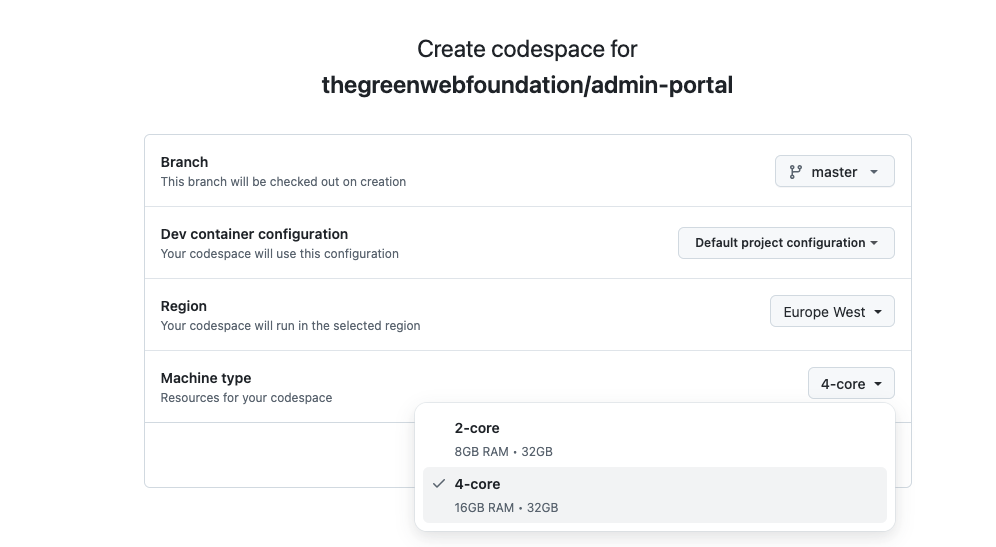
Selecting your machine will either set up a new browser tab with your environment booting up or VS code locally to work in. The first step of creating an codespace can take a few minutes - be ready to get a hot drink.
Once an environment is set up, you should have a terminal available. Type
justin the terminal to see your options.
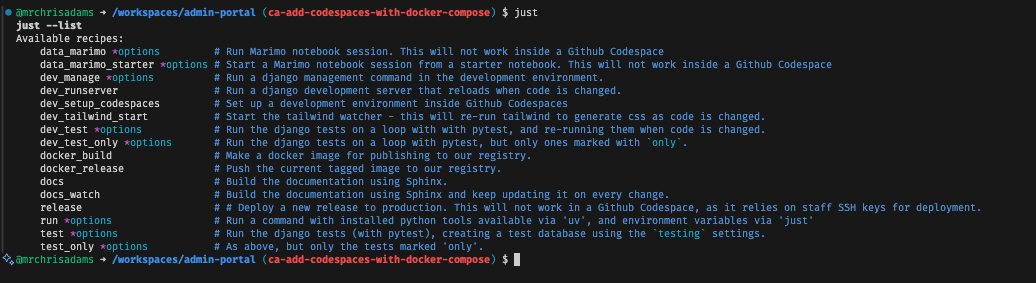
If you want to see a running local instance of the platform, choose
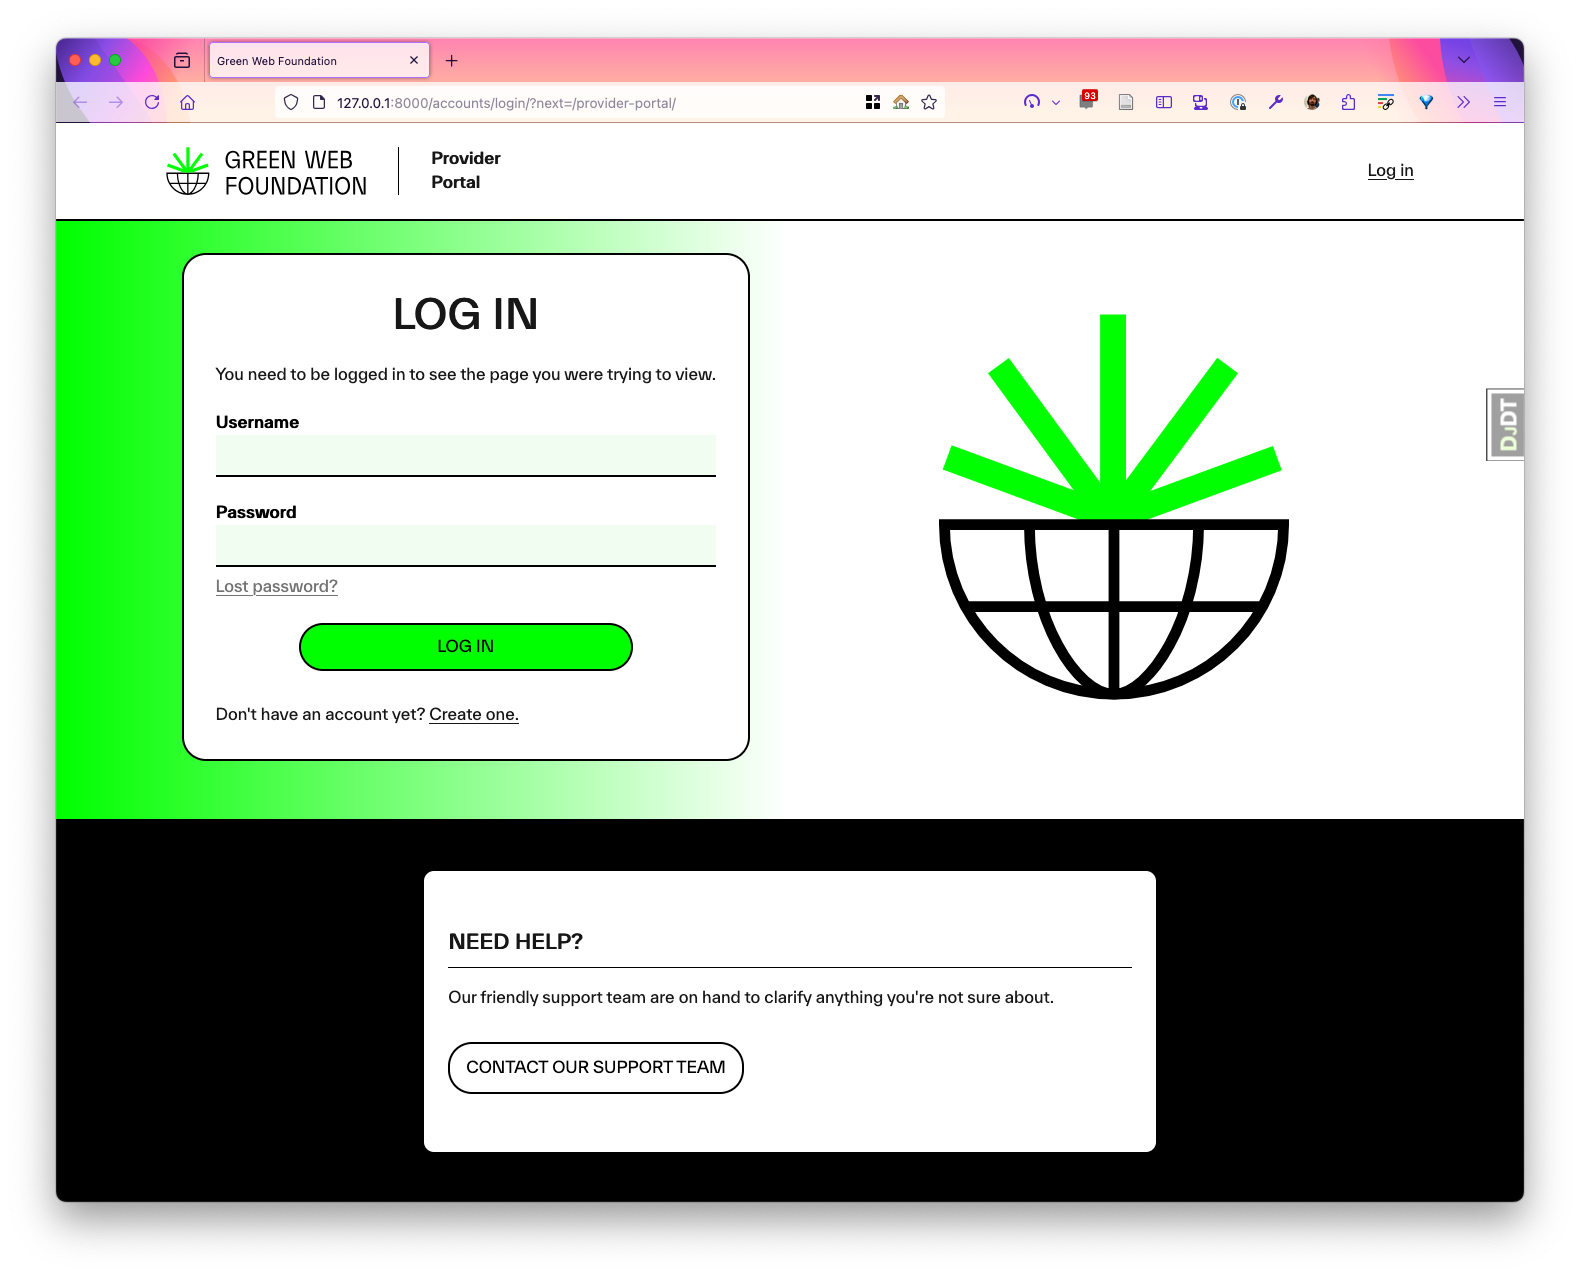
dev_runserver. You should be able to access see a local instance of the application if you visit 127.0.0.1:8000.
Development on a local machine
The admin-portal project uses the Pyproject format to track software library dependencies, so should work with most python tools for managing dependencies, like pip.
The supported approach - using uv and just
With that in mind, the supported, ‘golden path’ approach is to use the uv tool from Astral for managing dependencies, and just for automating common tasks.
We recommend and support uv, because it helps address many of the common issues managing different versions of Python, both in developmnent and in production, and is actively supported by people working on it full time.
We recommend just, as it offers a maintainable way to document and automate common tasks during development. It is both well documented, and actively maintained, and has good support for the use of .env files to keep credentials and secrets out of source control.
Working locally with devpod
Warning: local development with devpod is currently experimental - the supported environments for local development are with uv and a locally installed python, or with Github codespaces.
Github codespaces uses the open devcontainer standard for configuration, which (in principle) means you can also run the application anywhere else which supports it. devpod is an application which allows you to run devcontainers on your local machine using docker, and allows us to easily set up an environment for local development. However, there’s an important caveat - in order to make sure our development container is compatible with non x86 architectures (like, for instance, recnet Macs), we need to use a different base image than the one we use on github spaces. Therefore, we provide a separate “local development” devcontainer config at .devcontainer/devpod.devcontainer.json.
First install devpod and Docker, then setup devpod to use docker:
devpod-cli provider add docker && devpod-cli provider use docker
We also need to set a devpod option to not kill long-running processes, so that the server is left running:
devpod-cli context set-options -o EXIT_AFTER_TIMEOUT=false
Then, from the command line you can run:
devpod-cli up . --devcontainer-path .devcontainer/devpod.devcontainer.json
A vscode window will open in your browser, but there’s a couple of caveats, compared to the easier “Github codespaces” version above.
First, you’ll need to run the setup script yourself, which installs tailwind, collects static assets, and runs dabase migrations:
Open a terminal in vscode, and run: just dev_setup_codespaces.
You may see “setting locale failed” warnings appear in the terminal - these can be safely ignored, but can be suppressed by using zsh instead of bash as your shell.
from here on you can run just run_devserver in a terminal, as described above in the “Github codespaces” section.
Installing just and installing uv
You can install uv with a single one-line command on most systems:
curl -LsSf https://astral.sh/uv/install.sh | sh
There are other supported ways to install uv documented on Astral’s installtion page for the project.
You can also install just with a similar one-liner.
curl --proto '=https' --tlsv1.2 -sSf https://just.systems/install.sh | bash -s -- --to DEST
Installing system dependencies
The admin-portal requires a recent version of python, a database compatible with Maria 11, (Mysql can work, but we not actively supported ), and a message queue, currently RabbitMQ. To install these on a debian or ubuntu-like system:
sudo apt install python3 python3-dev build-essential libmariadb3 libmariadb-dev
Running system dependencies with docker compose
Alternatively, you can run MariaDB and RabbitMQ in docker containers, and the django application on your local machine. You will need Docker installed, then simply run:
docker compose -f .devcontainer/codespaces-compose.yaml up db rabbitmq
MySQL is forwarded to local port 13306, and RabbitMQ to 15672, so use these values in your env file.
Use 127.0.0.1 as your database host - our docker compose configuration forwards the port to the local host, but localhost is a “special” hostname in mysql which makes the application attempt to connect through a socket, and will fail. We also use the root user here as running the tests needs the CREATE database permission, which our deploy user does not have.
DATABASE_URL=mysql://root:deploy@127.0.0.1:13306/greencheck DATABASE_URL_READ_ONLY=mysql://root:deploy@127.0.0.1:13306/greencheck RABBITMQ_URL=amqp://guest:guest@localhost:15672/
Object storage for accessing static files in staging and production
This project relies on object storage in staging and production, to provide redundant storage of upload files. Files are stored with Scaleway object storage. The supported tool for accessing files is Minio Client. Consult the Minio documentation for setting it up to access Green Web object storage where required.
Running the application locally
The first time you run the application locally, there’s a few extra steps you’ll need to go through to set up the database, admin user and static assets.
First, ensure you have a local .env file: copy env.sample and adjust as appropriate.
Then run outstanding database migrations, and setup permissions - this involves an additional step after running the migrations themselves, so we always use our just migrate command, rather than calling python manage.py migrate directly:
just migrate
Install JS and CSS dependencies and build static assets:
just dev_manage tailwind install && \
just dev_manage tailwind build && \
just dev_manage collectstatic
Create a superuser account (enter your details when prompted):
just dev_manage createsuperuser
Finally, you can run the development server:
just dev_runserver
Now is also a good time to run the tests, to make sure everything is working as expected!
just test
You should see the web application running on port 9000 by default, or whatever port is set in your .env file.
Working with common tasks
This project uses just to provide a convenient way to perform common tasks, and these are defined in justfile in the root of the project. Type just by itself to see a list of tasks.
Running custom tasks with just
You may need to run commands with environment variables set, and with access to the installed python libraries. Use the just run command in this case:
just run <my-command>
Will run my-command with all the environment variables in .env set, and with access to any installed python software, like ansible, dramtiq and so on.
Overriding environment variables
If you need to troubleshoot an environment like staging, you can run a command with a different set of environment variables defined. The command below will run <my-command> as usual, but using the environment variables defined in a local .env.staging.local file instead of the default .env file (.env.staging.local needs to exist first).
just --dotenv-path .env.staging.local run <my-command>
Working with email
Under consideration
We’re reviewing if running this as part of the default codespaces docker compose is a good idea.
This project has features that send email notifications to users. To test email functionality, this project uses Mailhog.
If you need to see emails as they are sent out, and preview their content, open a terminal window and enter the command below to run an instange of Mailhog
docker run --rm -p 18025:8025 -p 1025:1025 mailhog/mailhog
You should then be able to access the mailhog testing inbox at 127.0.0.1:18025
Working with Docker
If you prefer working with docker, there are instructions for spinning up a local environment with docker compose and building docker images. See working with docker for more.